Opening Act
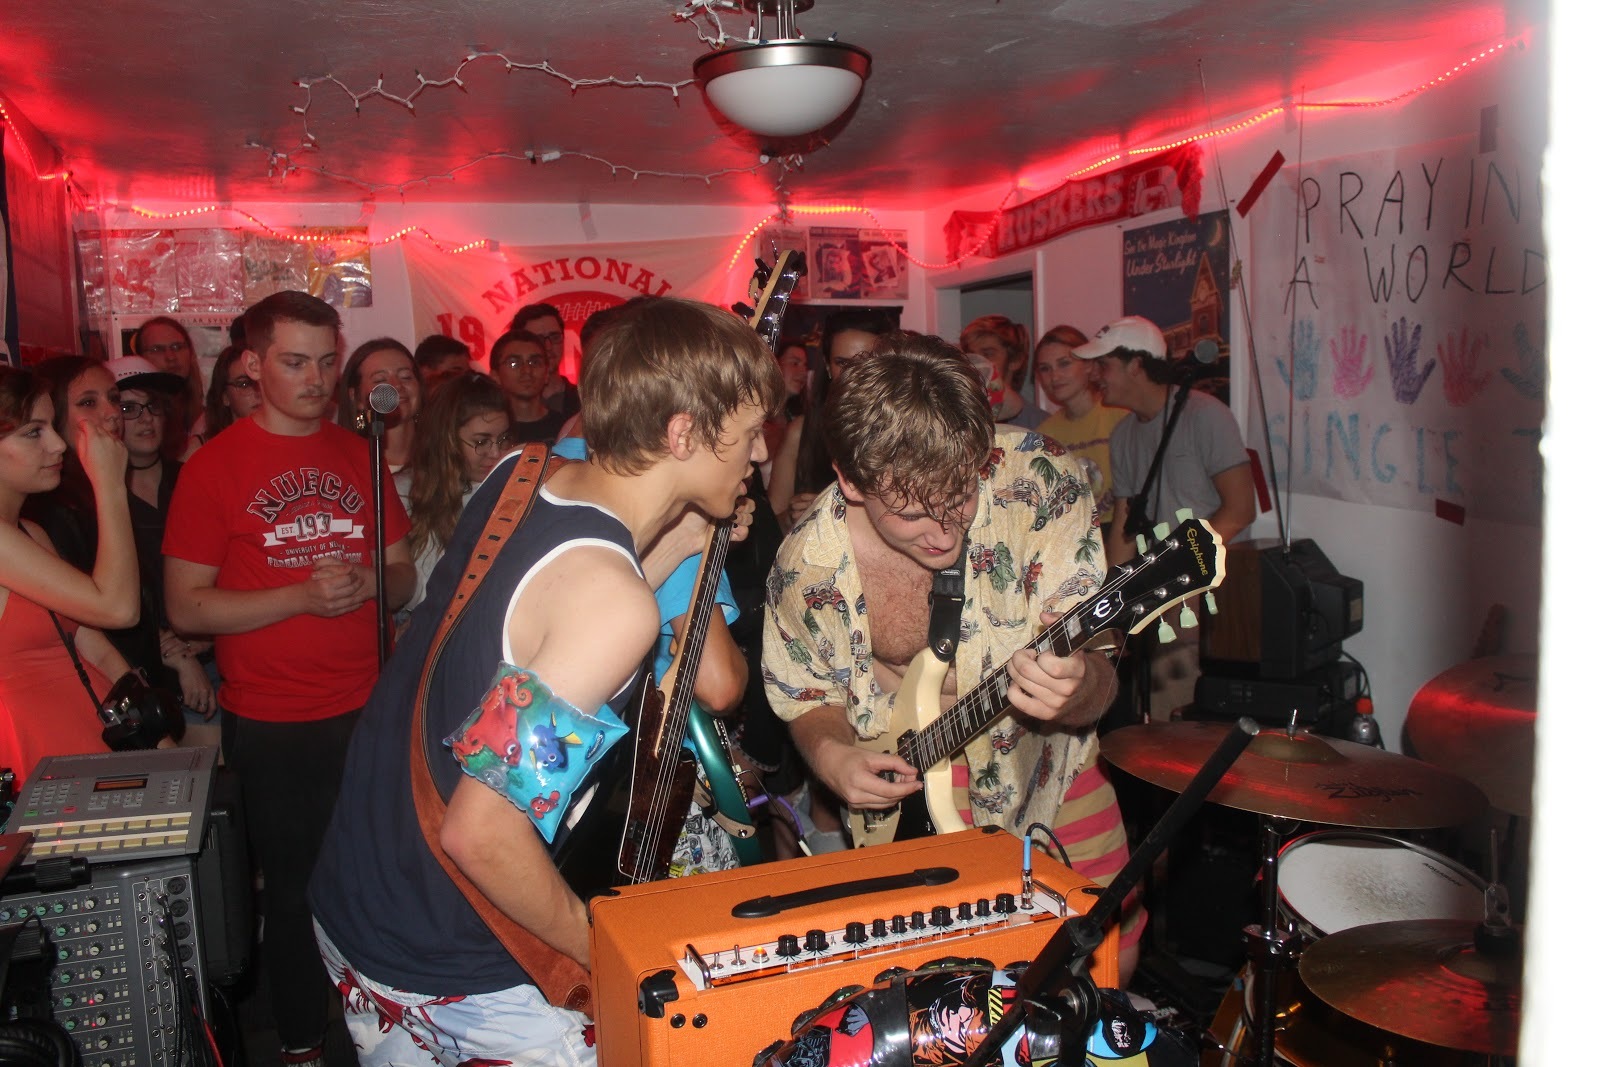
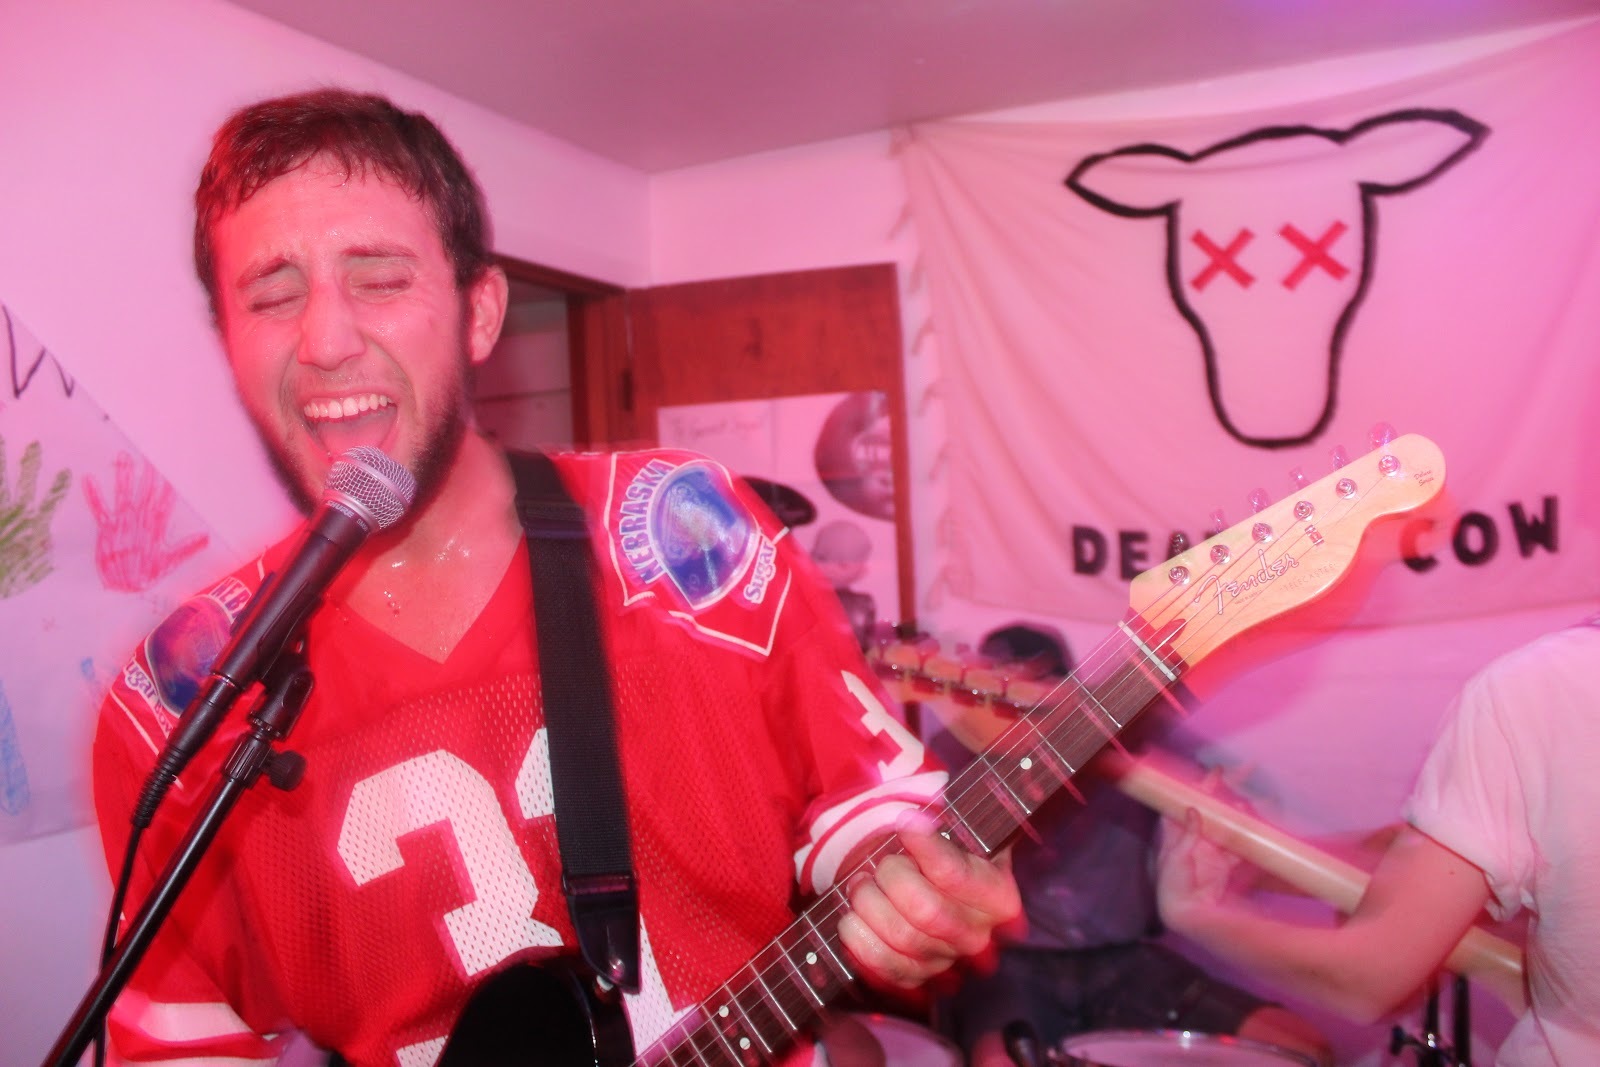
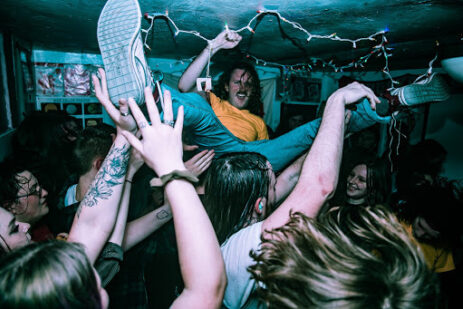
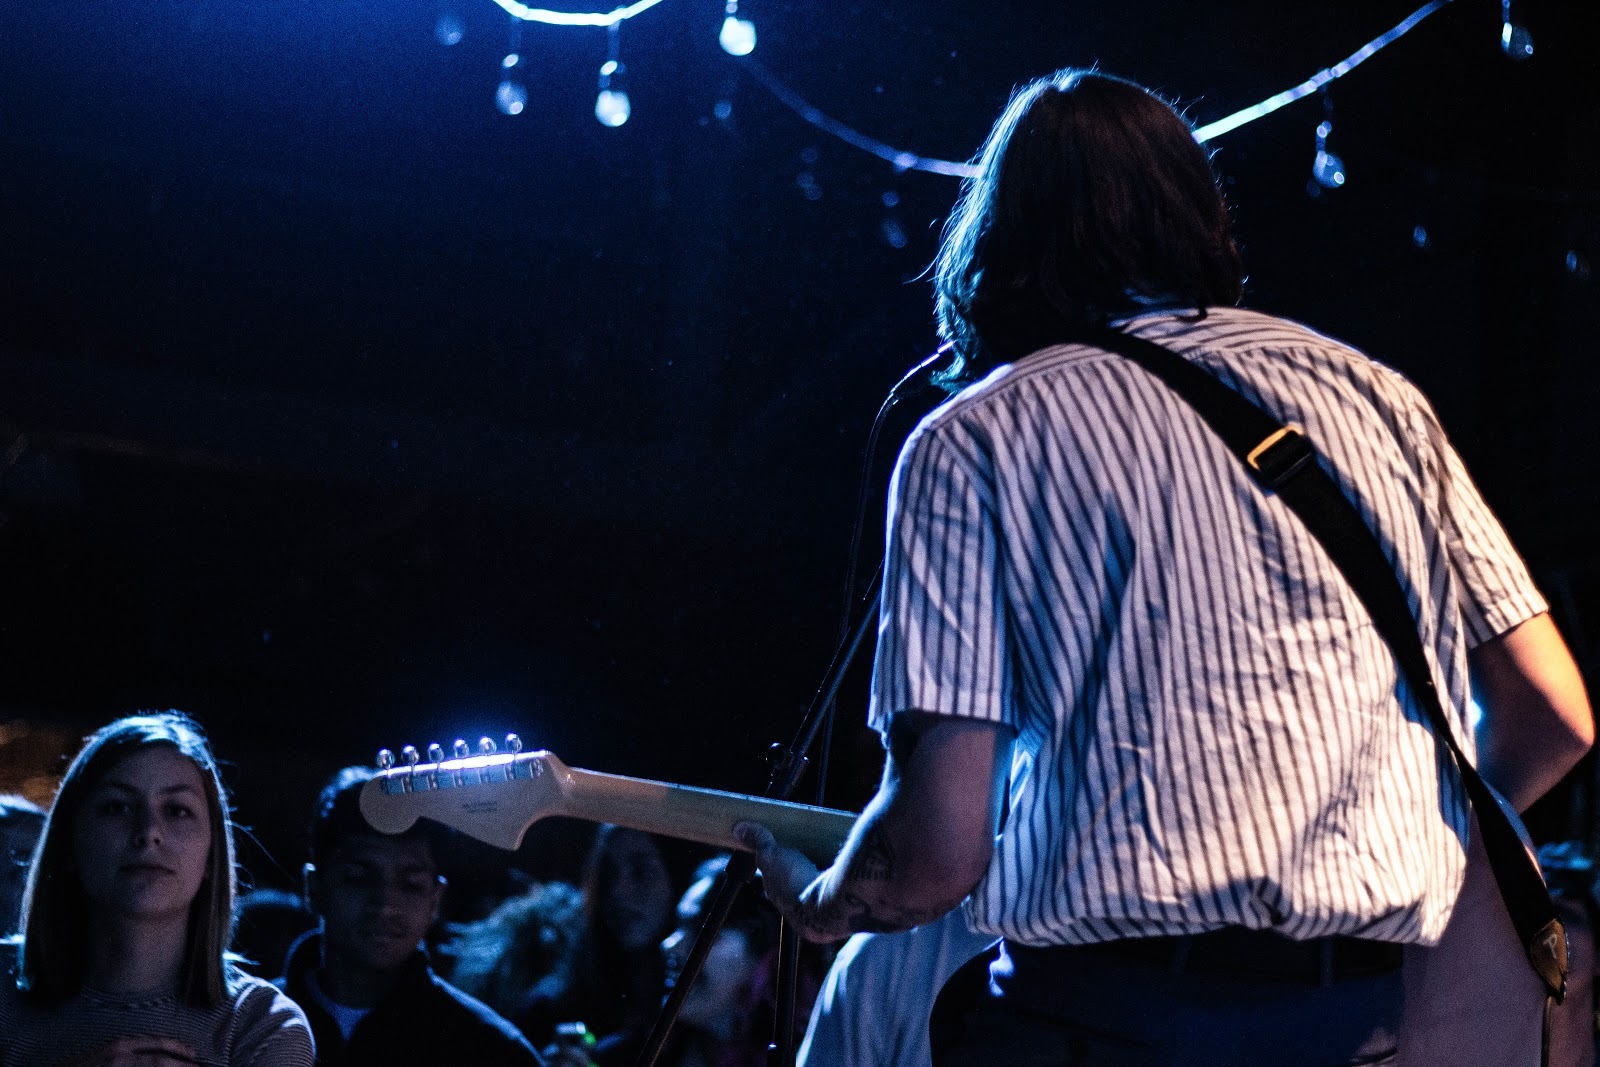
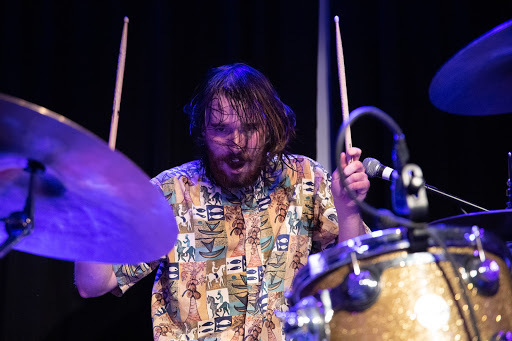
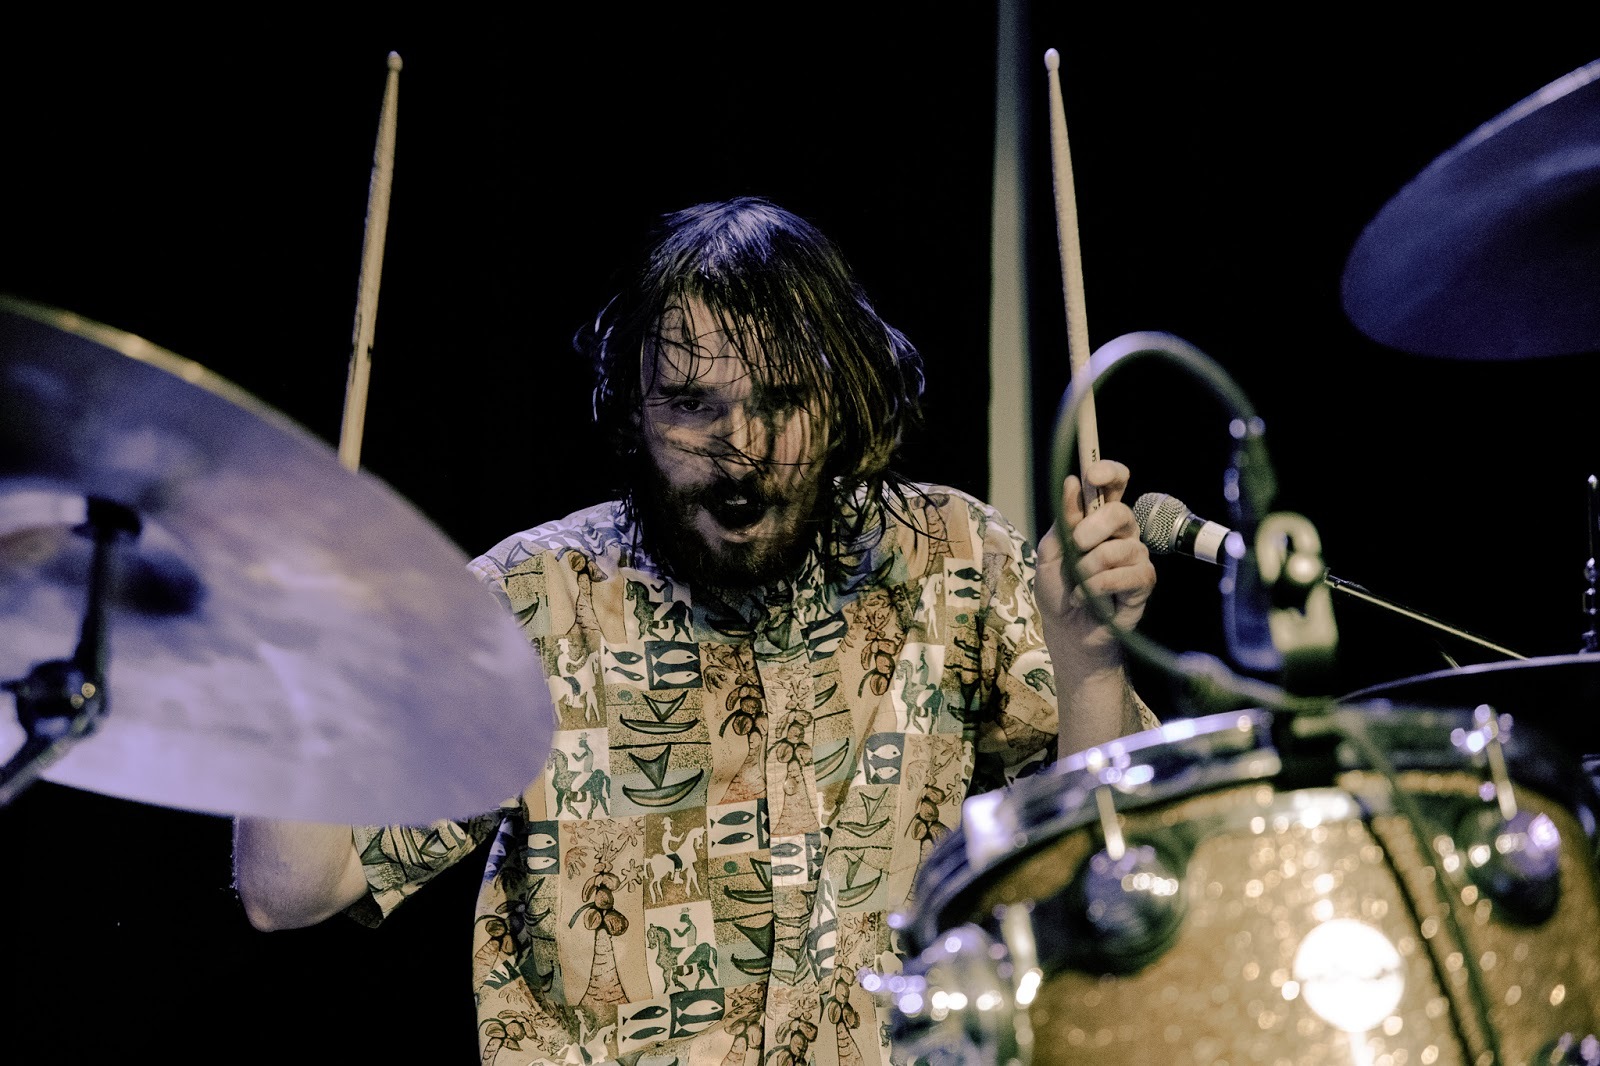
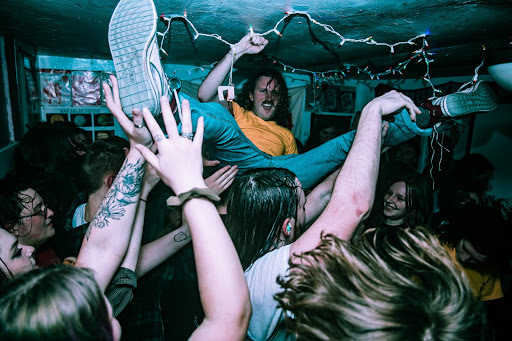
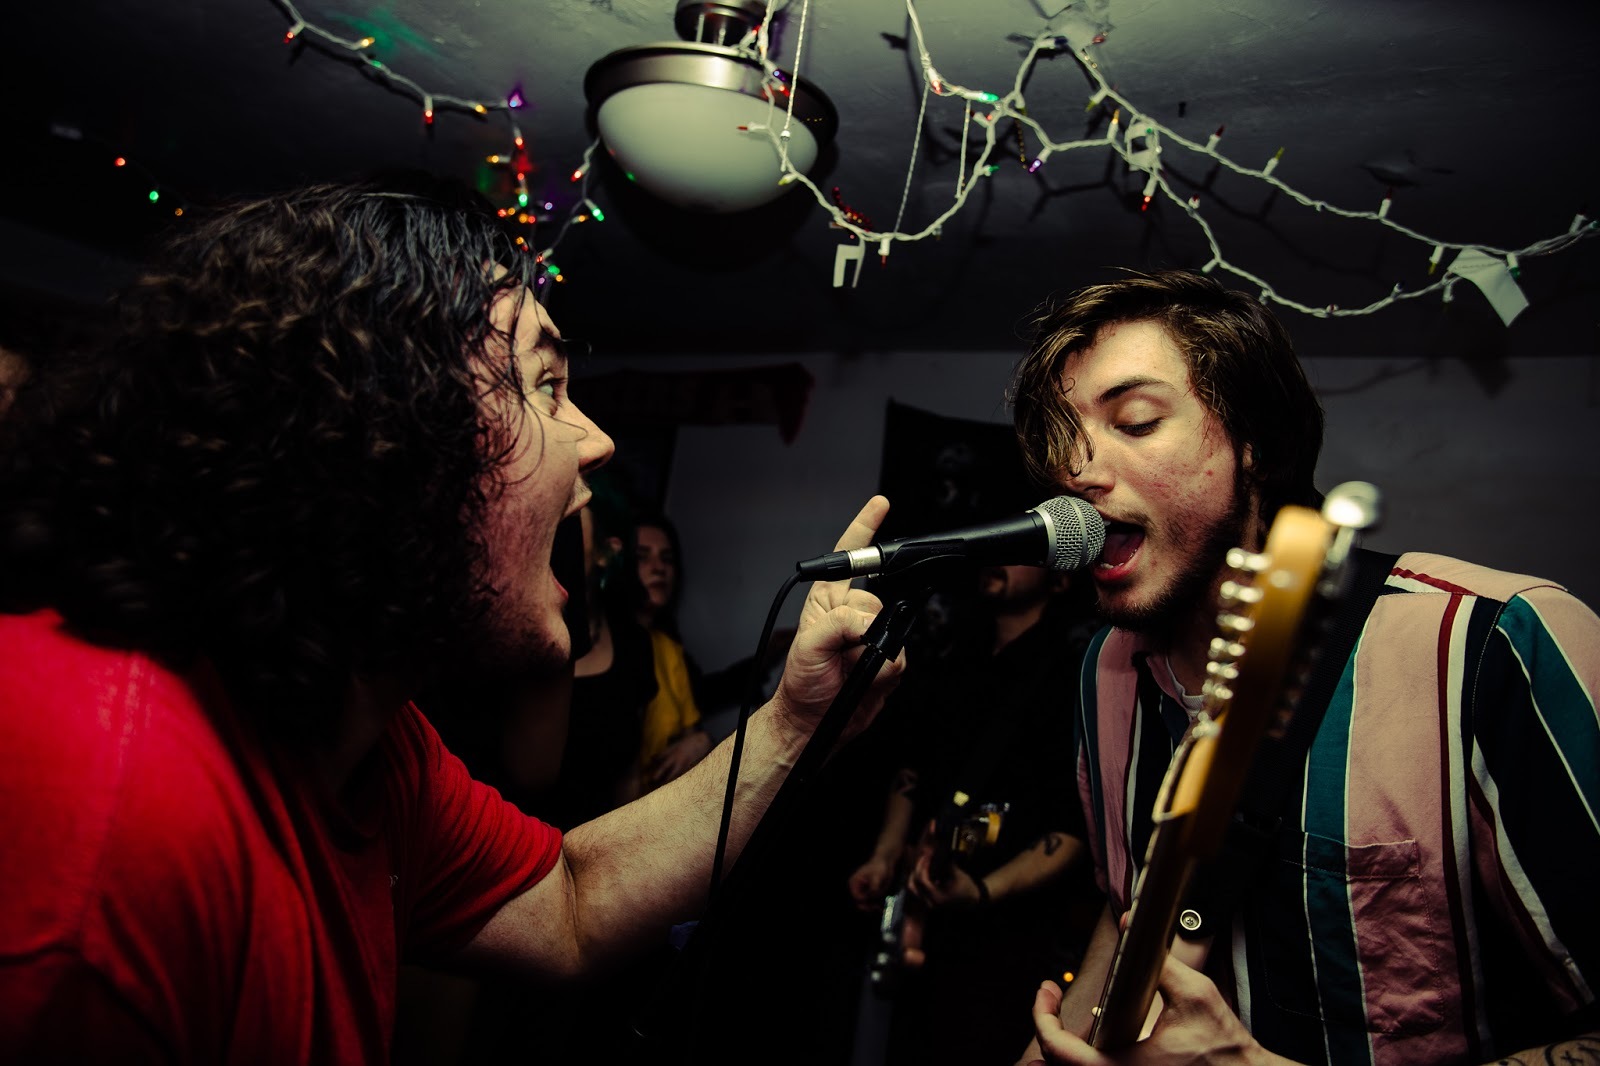
I had no idea what to expect when I walked into the basement of the Death Cow house in the summer of 2017. Well over 50 kids were packed into the tiny basement, sweating, moshing and cheering along - it was pure mayhem. I was right in the middle of it all, being thrown around by the crowd, dodging elbows, holding my camera high and taking every picture I could manage. Needless to say I had no idea what I was doing showing up as a photographer for this house show, but it sparked a passion for show photography that would set me on the path that I’m still on today.
Being thrown into the thick of it all and coming out on the other side with a few cool shots will give you the confidence you need later in your career when you are in photo pits or shooting bigger concerts.
Shoot With What You’ve Got
The camera that I used at that Death Cow house show was one that I’d bought a year before, with no intention of getting seriously into show photography. It was a Canon T5i that cost me around $400-500. That’s the camera I continued to use for the next 2 years and was brought on many tours in that time. For a long time, the only thing I added to that basic kit was a 50mm prime lens that I got for $100. I can't tell you how many shows I have photographed where the lighting is absolutely terrible and the standard kit lens just won’t cut it, no matter how much editing you do after the fact. With that extra prime lens, I could capture photos that took place in lower light venues with ease.
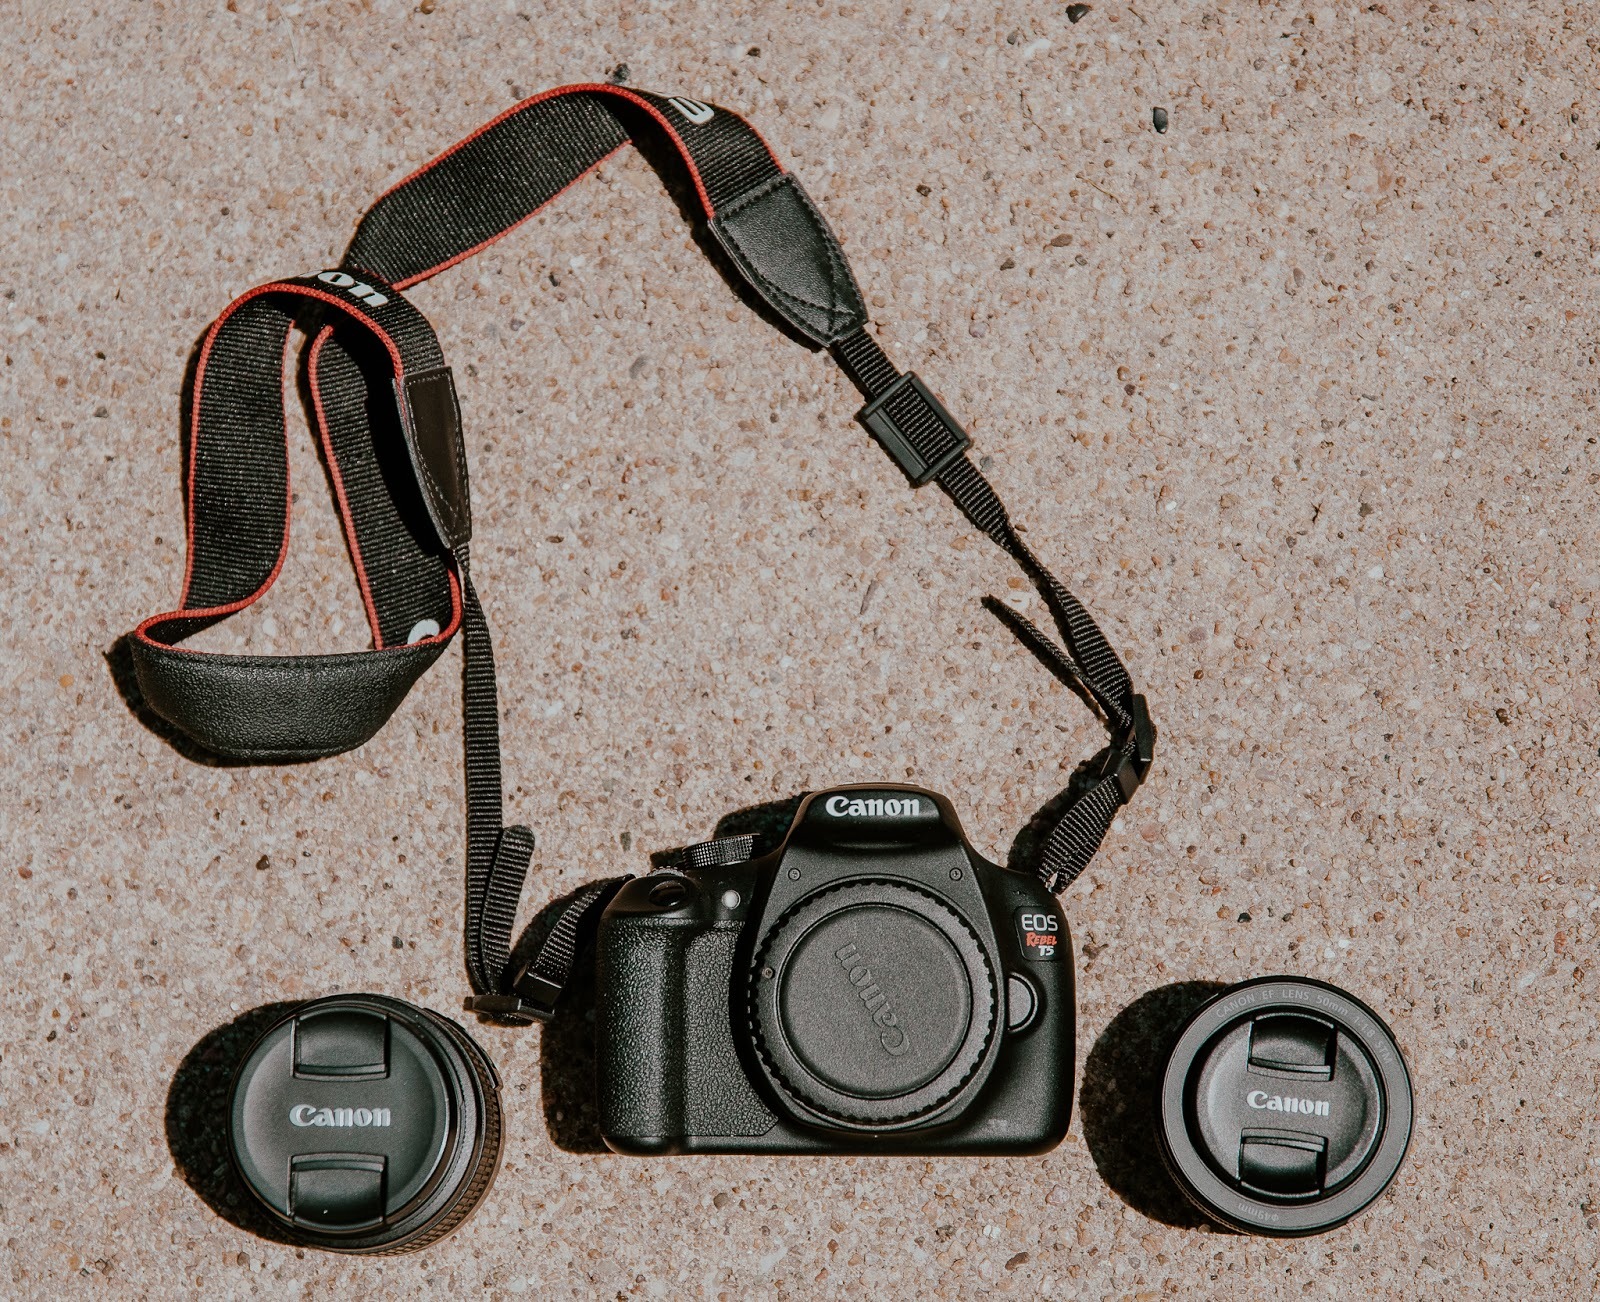
My Canon T5i with its kit lens and a 50mm prime
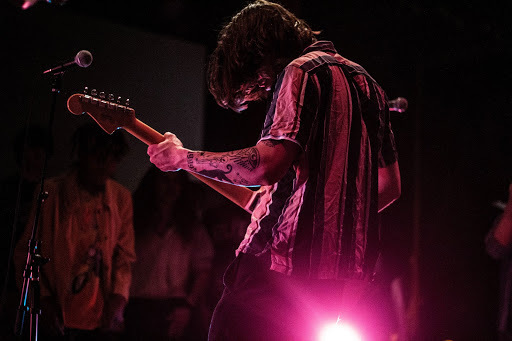
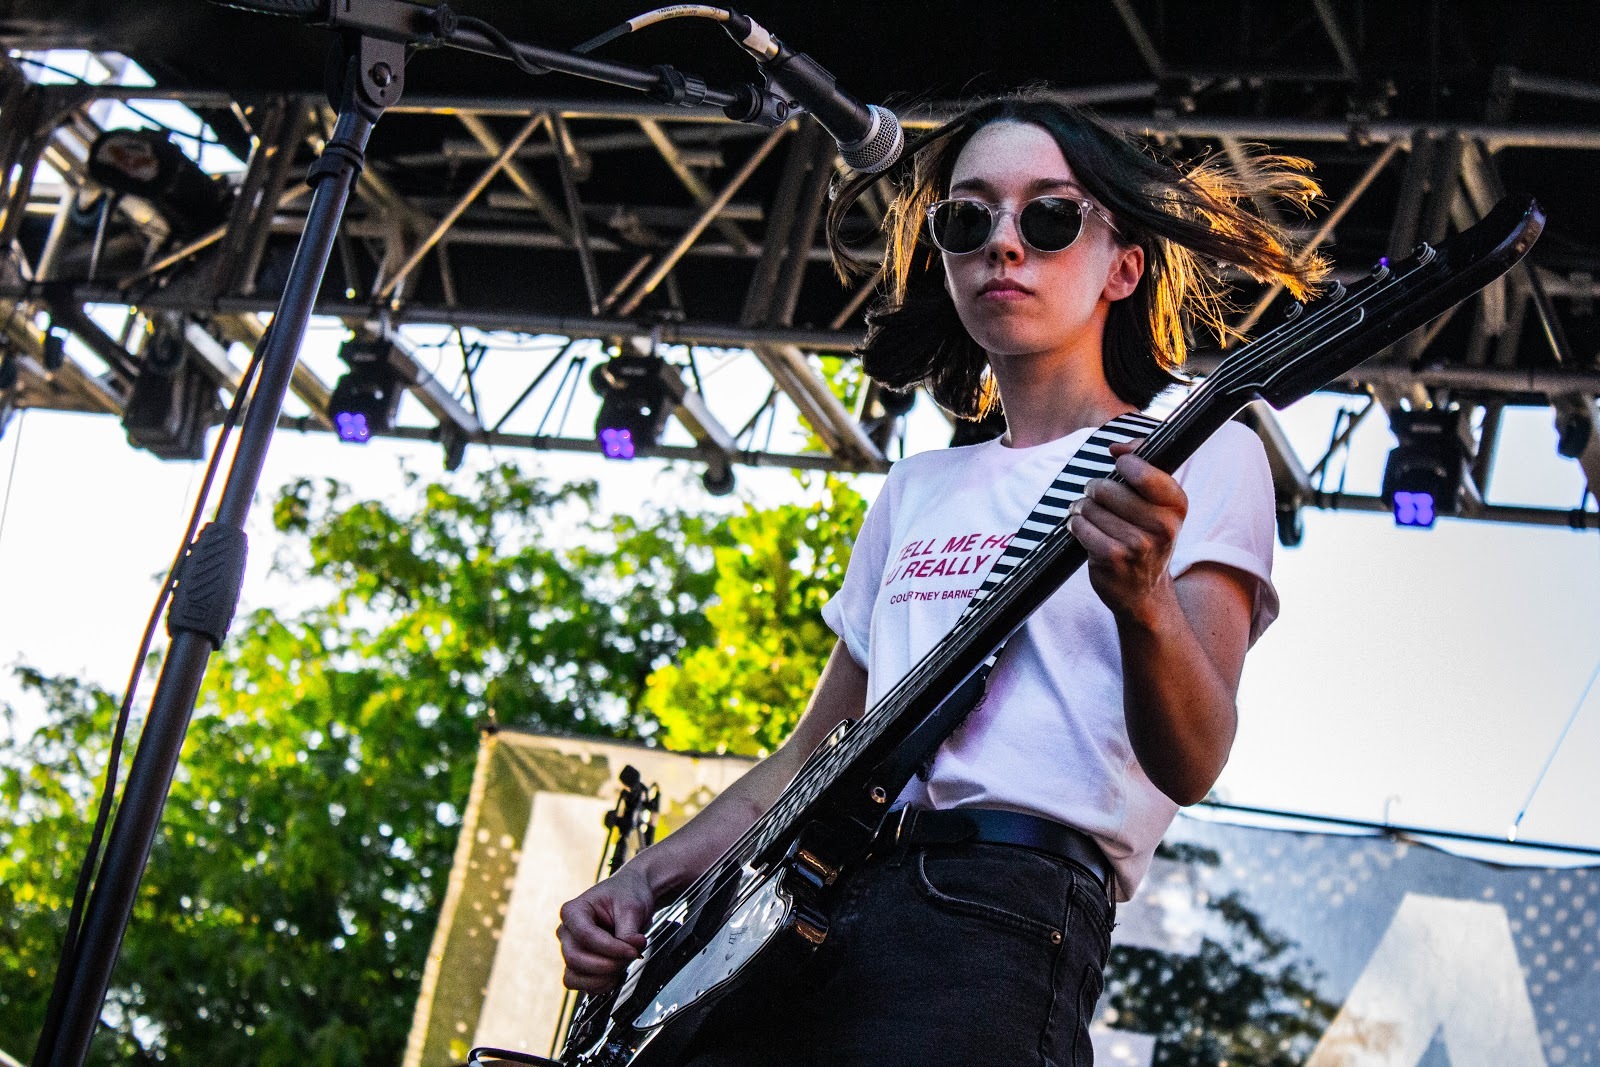
The more I got into photographing shows in Nebraska's local music scene, the more I found that the type of camera equipment you use doesn’t really matter.You have to learn with what you have until your skills outgrow the equipment you are using. Knowing when you outgrow your equipment is different for everyone. I realized I outgrew my equipment when I started getting hired to go on multiple tours a year with bands. Essentially, you will know when you outgrow equipment when you decide to take photography from a hobby to a career. A cheaper beginner camera can do a lot depending on how you use it. I have gone on many tours with bands just using my basic kit--these are just a few of the shots I was able to get.
Mastering editing on softwares like Adobe Lightroom and Photoshop can really improve photos taken with a basic camera and lenses. Editing is half of photography, learning how to do it takes a lot of practice but you can make the best out of any set of photos.
In The Moment
My first camera was a polaroid. I always hated when people asked for a picture or posed for one, I would wait until they stopped looking at the camera and for the perfect moment to capture their natural reactions. By figuring out the right angles, and anticipating where and when the right moment to capture a photo is, you can figure out where you need to be to get the best pictures possible. You’ll also become practiced at anticipating light changes and applying them to your camera rig, whether it be ISO or aperture as you move through different sections of the space you are in. It takes time and practice to learn that kind of anticipation, but it is one of the most important parts of being a show photographer.
The best way to build that “in-the-moment” skill is to spend a lot of time in the moment of show photography! Go to as many shows as you possibly can, and take as many pictures as your heart desires, because the more pictures you take the more you will figure out how all of it works.
Another part of the work that happens “in the moment” in show photography is networking. I got into show photography by being friends with the members of Death Cow, they helped me get into shows without a cover charge and let me know about other shows going on. I would go to every show they played and shoot photography, they eventually took me on tour which helped me hone my skills even more.
One thing I struggled with starting out was getting the confidence to push through a crowd to get that perfect candid shot. I was shy and afraid to be in other people’s way. I had to watch many other photographers do this before I ever gained the confidence to do it myself. In the end, photography just comes down to confidence and being comfortable holding that camera, and putting yourself in the moment is the best way to practice that.
Getting Organized
I learned pretty quickly that having a system in place for editing, storing photos and overall organization before and after a show are of the utmost importance. Before developing my current system, I was utterly lost when it came to organization. I would upload the photos to my laptop and just let them stay there, with no backups of cloud drives. When someone wanted a photo, I emailed it. Then I used up all of the storage on my laptop, I had to decide what photos to delete, and since I didn't have a backup, I will never be able to retrieve those photos again.
So here is my current system that ensures I am prepared for every show before, during and after.
Before the Show-
1. Know the venue. Although not always essential, knowing the types of lights that the venue specifically uses and how the stage is set up can give you an upper hand. Try and do research on the venue by going ahead of time either by going to other shows or getting to the venue early before the show you are attending begins. If you are able to get in early, take a couple of test shots to see what you're working with. If neither of those options are available you can try google images to see what the stage and lighting situation is. Presets are also something that can be very helpful for specific venues. (more on that later!)
2. Pick the right equipment. For most show photography you are probably going to be in a fairly dark venue. Where you are can determine what equipment you use, whether it be the type of lens or if you need to use a flash. I always keep a flash on me when I go to shows, just because you never know what could happen.
3. Create the folder for the show. Before I go to photograph a show I always create the folder where I plan to put the photos. This allows me to get organized before the shoot and makes for an easier transition for when I download the pictures after the show. I label each folder the same way (year/month/date) which allows me to keep things in chronological order and easily come back to them at a later time.
4. Prepare for the worst. Sometimes everything doesn't quite go to plan when shooting a show. The lighting could be off. That one shot you thought was perfect turned out blurry, or maybe something went wrong when trying to download the photos after the show and you lost them all. Some things are unavoidable, but with good planning and organization, you can avoid some major losses. I highly recommend having multiple backups for all of your pictures. I personally use a 5TB drive that stays at home and then two 1TB external drives for when I go on tour.
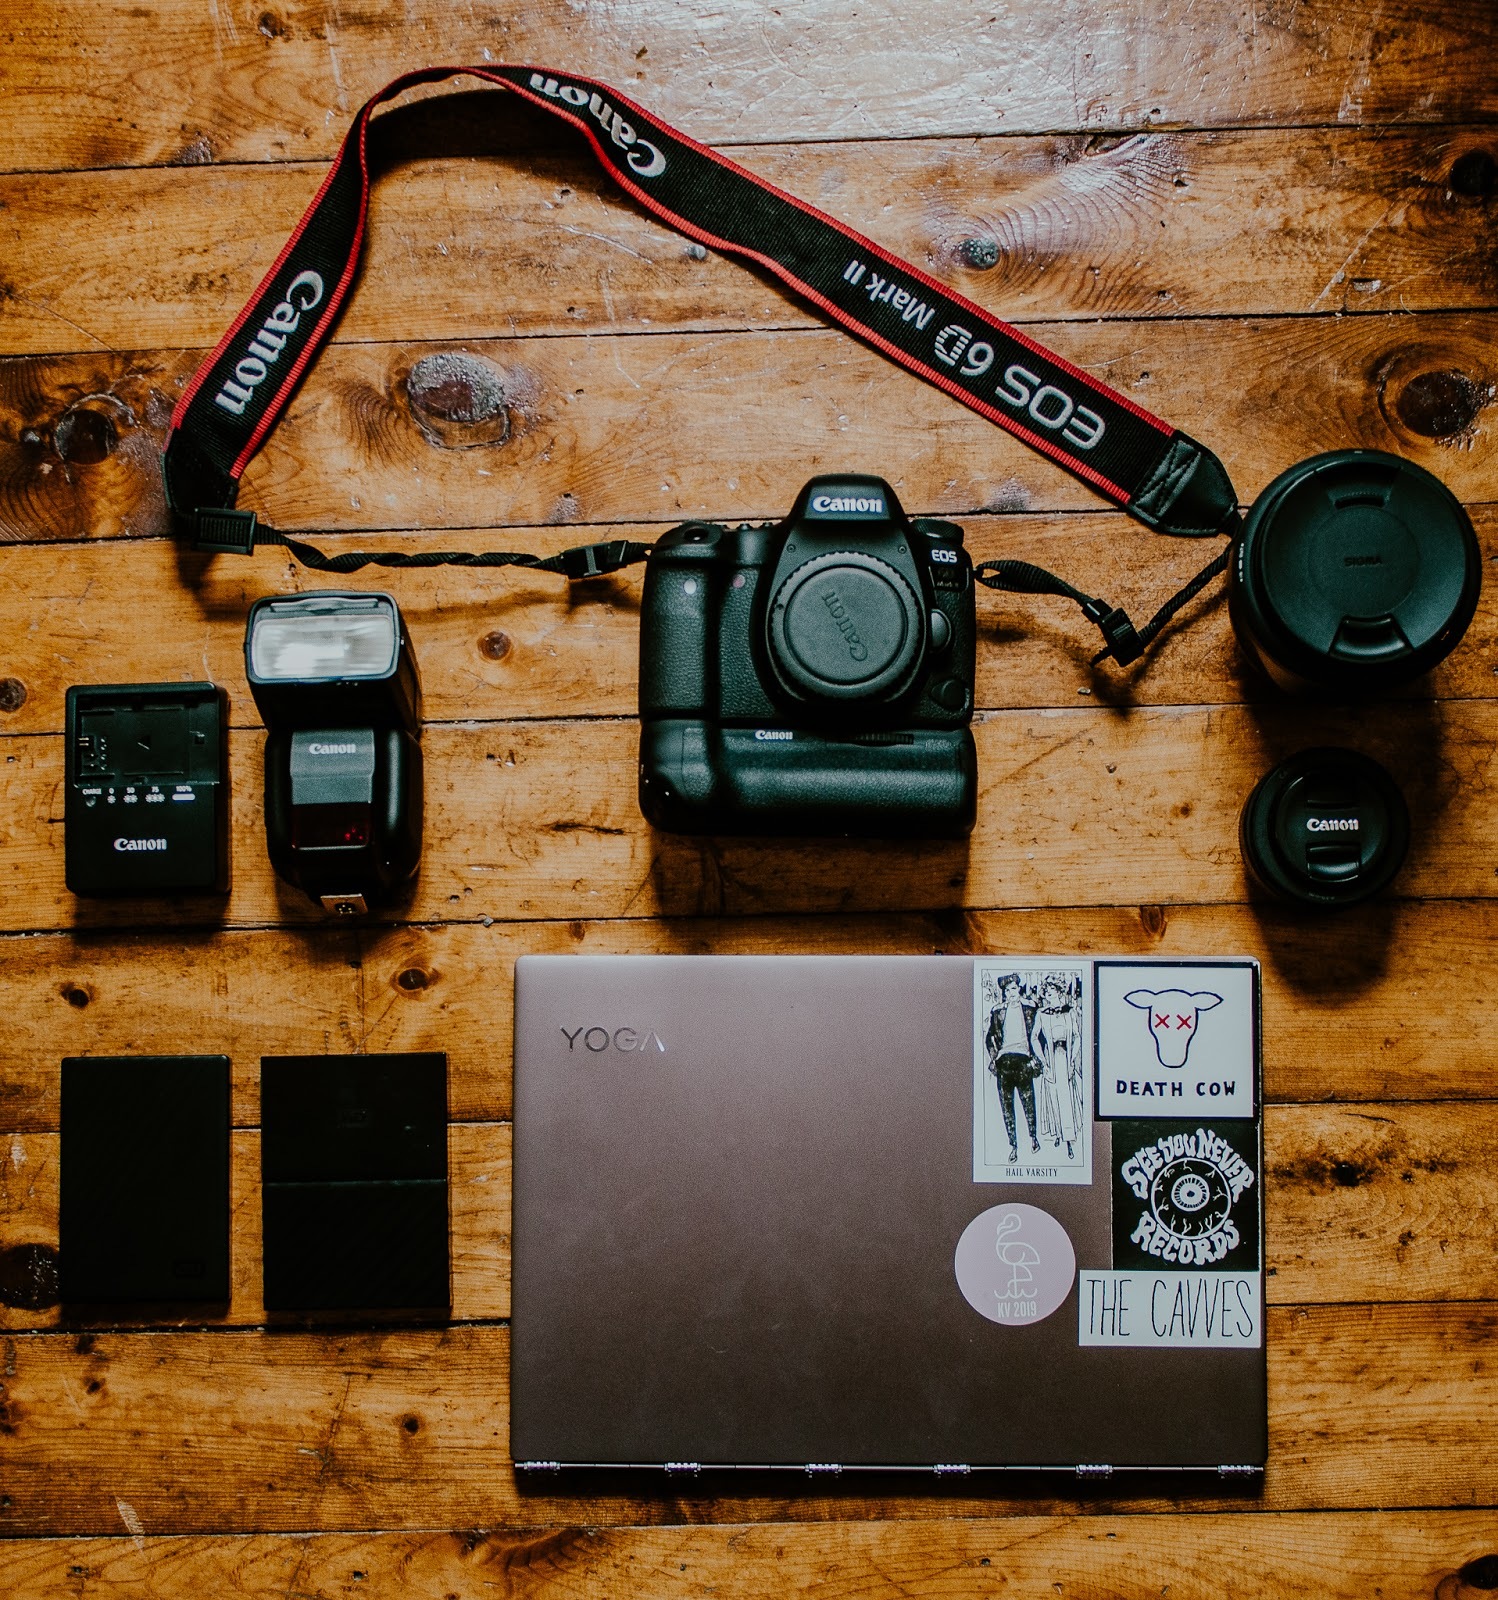
My current kit
The more I got into photographing shows in Nebraska's local music scene, the more I found that the type of camera equipment you use doesn’t really matter. You have to learn with what you have until your skills outgrow the equipment you are using. Knowing when you outgrow your equipment is different for everyone. I realized I outgrew my equipment when I started getting hired to go on multiple tours a year with bands. Essentially, you will know when you outgrow equipment when you decide to take photography from a hobby to a career. A cheaper beginner camera can do a lot depending on how you use it. I have gone on many tours with bands just using my basic kit--these are just a few of the shots I was able to get.
During the Show
During shows I get pretty bad FOMO (Fear of Missing Out), so I try and take every opportunity that I can to capture as much of the show that I can. On average I take between 600-1200 photos a show which will take a lot more time to sort through and edit, but it allows me to catch more important moments that happen throughout the show. Never set your camera down. There is always more to capture and more to experience.
After the Show
1. Upload the photos. Import the photos to Lightroom and put them into the folder that you already made in advance!
2. Charge batteries. Make sure that you charge your camera batteries between each show. Sometimes you will have multiple shoots in a week so it's always best to be prepared.
3. Edit the same night. You’ll probably be tired, but trust me, it’s worth it to edit your photos the same night that you take them. This ensures that the photos you took are still fresh in your mind, and if you are shooting these specific pictures for a band or person you will be able to get it to them as quickly as possible. This is especially important if you ever go on tour because most of the time these bands will want to post your picture on social media the day after every show. These are the steps that I take when I edit.
- Import Pictures to Lightroom
- Flip through all the photos quickly and mark the ones that I want to edit and give to the client/band. This usually comes out to around 15-50 photos out of a total of about 400.
- Filter out the rest of the photos so I can focus on the set I’ve chosen to edit.
- Try different presets on the photos to see which ones work best for the lighting conditions from that show.
- Once I’ve chosen which presets to use, I make individual tweaks--whether it be exposure, contrast or color balance--to the photos until I am happy with the outcome.
4. Share pictures with performers. Once you are done editing the photos from Lightroom, upload them to a separate online drive so you have a central place to share your work with performers and others. I personally use Amazon Drive to upload my photos. It is free with Amazon Prime and allows you to upload as many photos as you want. Other useful online drives include DropBox and Google Drive.
Presets: Justin’s Personal Touch
When it comes to editing, presets will be your best friend. I didn't know how to make presets until about a year ago. I used to edit every picture by hand which took an immense amount of time and patience and was just unnecessary. Presets allowed me to cut my editing time in half and overall makes editing easier and faster.
What’s a preset?
It’s like an Instagram filter for professional photographers that you purchase or make yourself. It’s a saved set of edits to things like color, contrast, exposure and more.
Many photographers offer free presets which can help you get started. My personal favorite is Matty Vogel who has two free presets meant for show photography. I look at his presets, comparing the before and after, and dissect them to understand how they work and how I can apply them to my style of editing. This process looks a little something like this.
1. Find a photo you took to test the preset on and see if it looks good.
2. Look at the tone curve and see where the points lie within each channel (point, red, green, and blue) and drag them back to a straight line, paying attention to how the colors change as you do so. Then, adjust them back to where they were with the preset on. This will allow you to understand what the preset’s tone curve is doing to your photo.
3. Next go through each other setting that was changed in the preset (exposure, contrast, highlights, shadows, clarity, etc.), and move them between 0 and the preset levels in order to see the changes happen more gradually. This will allow you to understand which settings are affecting different parts of the image.
4. After dissecting and understanding how the presets work, you can then make changes to them that fit your own personal style and taste.
Most of Matty Vogel's presets are used in Pinnacle Bank sized venues, so when I think about how to adapt them to my style, I also scale them back so that they can apply to other, smaller venues. Many big venues have better and brighter lighting rigs which can make it difficult when using professional presets that were designed for that, rather than house shows whose only lighting is a string of Christmas lights.
Getting practice at creating and using presets may take some time. In the beginning, the tone curve was my greatest enemy. I had to dissect a lot of other professional photographers' presets before I felt confident manipulating it myself. Now, that tone curve is my best friend. The time you invest in learning this part of show photography will be worth it to have your own personal presets and style to put on any photographs you may take.
Check out this tutorial ☝️ on how Justin makes his presets!
Getting Gigs: The Business Side
Being able to receive and maintain old and new business is a big part of photography. Since I first got into photography I have learned three major ways to market myself in order to continuously find gigs.
1. Create A Portfolio- The first step is to create a portfolio for your photography work. I use Adobe Portfolio which comes with the monthly photography package that you can purchase from Adobe's website. This isn't your only option, there are many websites like Wix Or SquareSpace that will make creating your portfolio process quick and easy. Keep your portfolio tight--you don’t want to overwhelm people. It’s helpful to organize it into sections, (eg. show photography, senior photos, weddings) and make sure that you’re not just including photos from one show. Once you have a portfolio you will be able to send links to your work to potential clients that are interested in working with you. Once this foundation is set it's all about networking from here on out.
2. Social Media Marketing- with Social Media being sown into pretty much every aspect of our daily lives, marketing photography is easier now more than ever. I usually use the main three, Facebook, Instagram and Twitter to market my photography. Instagram is usually my go to as I find it to be the easiest way to reach my audience but I would recommend linking all three of these social media accounts so it posts to all of them at once. I would also recommend building a profile specifically for your photography work. Make sure to provide links to your email and portfolio to allow easy access for potential clients that find your page. From there it's all about keeping your audience updated and informed on any of your work. I post daily when I’m touring, and I do a recap at the end of the tour with links to encourage people to book me. If I’m not touring, I still post at least weekly, pulling older photos, throwbacks, etc. I also use my social media accounts to reach out to any people I want to work with.
3. Word of Mouth- This is the way that I have found most of the business for my photography. Almost all of my business was because of word of mouth from going to shows all over the Midwest. That's why I highly encourage going to as many shows as possible because you can come into contact with so many bands and other potential clients by taking pictures of them performing, sending them samples, and seeing if they would want to work with you in the future. Word of mouth is also great because it allows you to build a rapport with locals that will hopefully keep inviting you back and show your work to friends and family and allow for more steady business.
4. Know Your Worth- Once you have found the business you need to know how much to charge. Knowing how much your services are worth is a major component when it comes to photography. Even I still struggle with this side of the photography business. Figuring out how much your time and services are worth can be extremely difficult especially when first starting out. Your skills and personality are what help create the value for your business so bringing these characteristics into your photography can really help with the pricing. On average if you are a beginner/amateur photographer the standard rate is usually free-$50 an hour and between $10-$25 per photo. If you are a student or someone who has at least a couple of years of photography under your belt the average rates increase to about 50-$100 per hour and 25-$50 per image. Make sure you are constantly updating your rates.
Encore
The day after I shot the Death Cow “Pioneer EP” release show at the Bay, I went to shoot their last house show. The first Death Cow house show I had been to as a photographer 3 years prior may have been hectic, but it was nothing compared to the rowdiness of this night. People packed into the basement like sardines, condensation dripping down the plain white concrete walls surrounding them, and people scraping their head against the ceiling as they crowd surfed. Needless to say it was one of the greatest and also one of the most bitter sweet moments of my life. From going to the first ever Death Cow house show to the last, I not only grew to be a better photographer but learned a lot about myself.
What has changed in my practices from then to now mainly comes down to organization and passion. I now have the proper tools and organizational skills that allow me to prepare for anything that might happen at shows, rather than just shooting blindly into the dark. Granted, no photographer starts out that organized, but it helps to learn quickly what you can do to be a more efficient photographer. Most importantly, though, my passion for show photography and photography overall has grown since that first show. I started doing photography as a fun way to capture these special moments in me and my friends' lives, documenting the impact of music and friendship in our college years. After the first Death Cow show I let everyone see the photos I had taken, and they really seemed to enjoy them. Seeing the smiles my photographs brought to their faces boosted my confidence and led me to continue to pursue photography as a hobby. I didn’t think by the time I was 22 that I would be touring with bands and shooting shows, especially getting paid for it. I went to college to get a degree in business management, I was planning on just graduating, getting a job and following the normal trope that my parents had instilled in me since I was kid by just playing it safe. I thought I would be in a stuffy office job, just going through the motions to have the security of a steady income. It wasn't until going to shows and going on tour that I realized I didn't quite want that yet. Now, I want to do this for as long as I possibly can. I love giving people and bands the ability to look back on their memories of where they truly seem their happiest. Being in those moments as a photographer not only gives friends and strangers great joy, but makes me happier than I ever thought I could be.
Related Stories